Showing posts with label Tutorial. Show all posts

Sunday, April 1, 2012

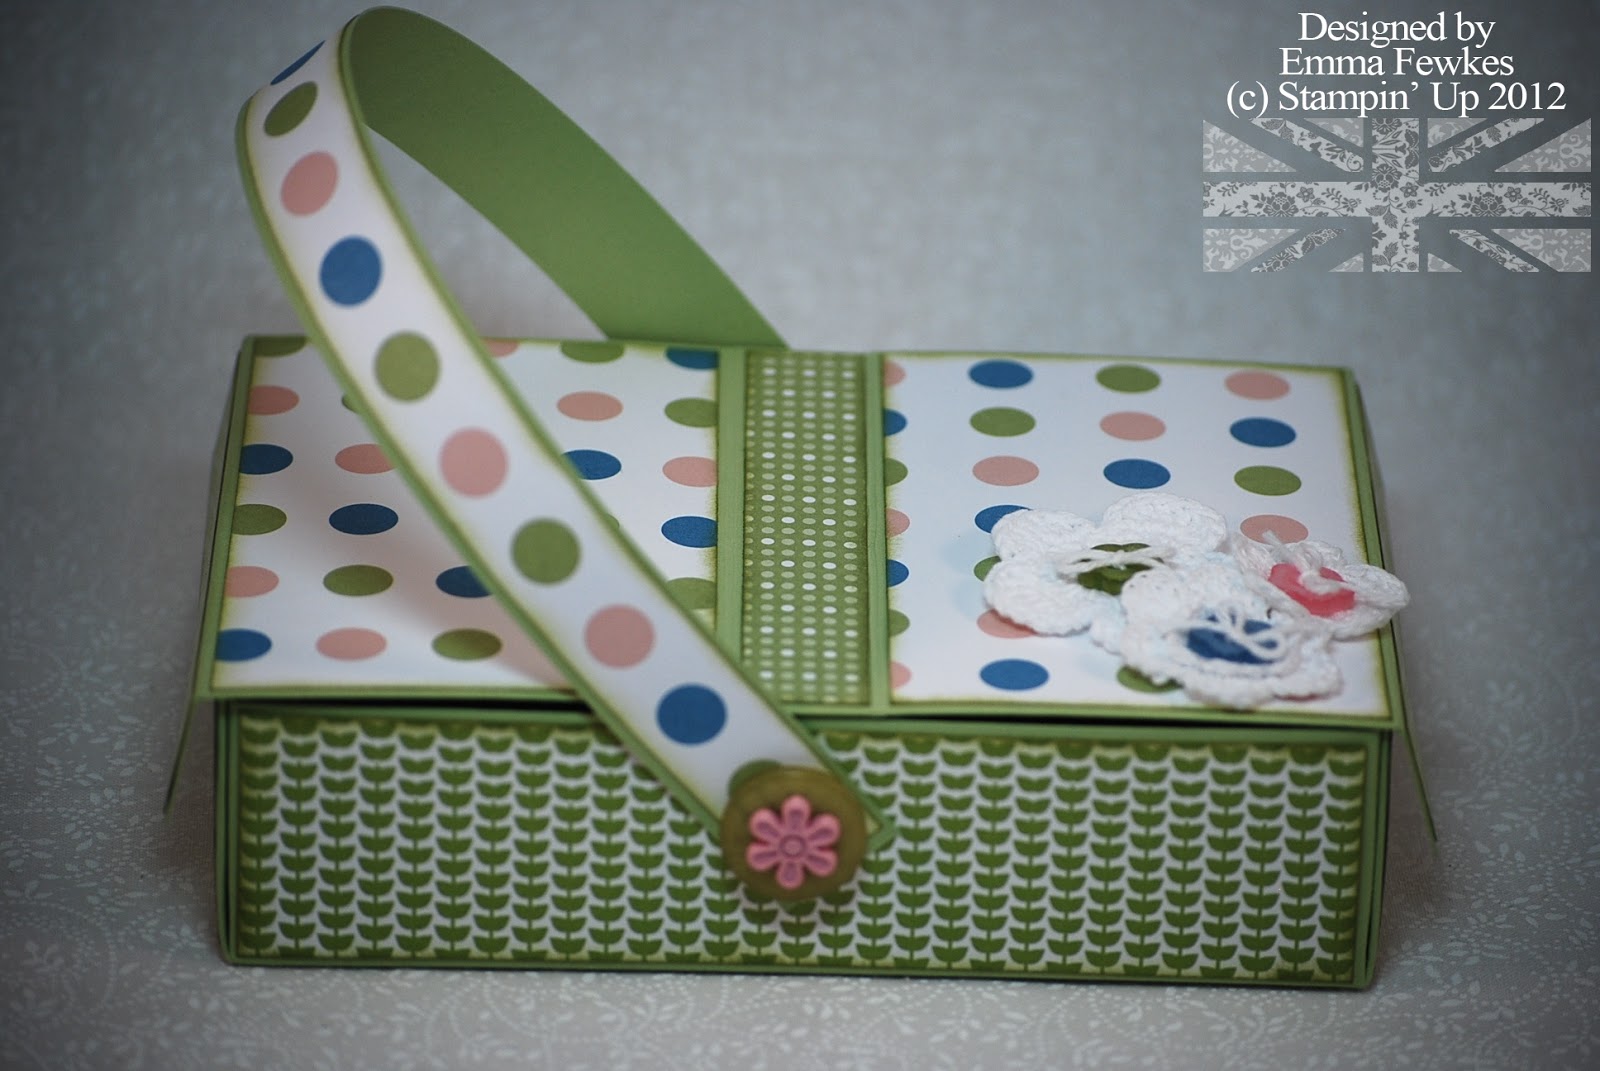
Picnic Basket and Tutorial

My friend, Nikki, pinned a pic of a gorgeous picnic basket from Randi Thorsen's Norwegian blog. I was very taken with it so decided to have a go at making my own, converting all the metric measurements into inches. I made one of these baskets for the MI Mingle and have just made another one and made a photo tutorial to show you how to make one. The tutorial is in the right hand side bar of my blog under "Picnic Basket Tutorial". Here's what I came up with :


If you make one, make sure you leave me a comment so I can come and see it :) Happy Stamping!

Tuesday, October 14, 2008

Tutorial ~ Gift Card Holder

This tutorial is thanks to my friend Susie who came up with this great postcard style gift card holder idea! Thanks Susie! Here are 2 examples of how you can use this pattern. It's completely up to you how you put it together, each one looks quite different!


You will need:


1 piece of cardstock cut 5 1/2" x 4 1/4" for the base (note I layered mine 1/8" smaller each time)
1 piece of cardstock cut 2 1/2" x 4" for the card holder base
1 piece of designer paper (or patterned c/s) cut 3 1/2" x 4"
Scor-Pal
Craft Knife or scissors
SU Label Holder Punch
Embellishments


Step 1
Score 1/2" around 3 sides of the patterned paper. Cut the corners to form a mitre (as shown).


Step 2

On the unscored edge, mark the centre and position the label punch as shown to make a groove on the sleeve. You can use a variety of SU punches at this stage, half a word window, half a circle or scallop circle etc.

Step 3

Using some snail adhesive, fold the scored edges around the gift card holder base.

Step 4

I attached a piece of ribbon around my holder before adhering it to the postcard base ... you can embellish it in any way you like ... I'm thinking primas!

To Finish, attach the holder to any part of your postcard base ... so easy and a lot of fun!
If you have a go, leave a comment and a link to your work so we can see what you did. Thanks for joining me!

Photograph Album

I wanted to sneak another post in today ... I made a small photo album for my aunt as a thank you for having us at Kate & Mathew's wedding. I made a thank you card but it just didn't seem enough so I thought of making a small album for her to slip into her purse. You know how EVEYRBODY asks you for photos when you've just had a wedding! It turned out so prettily that I thought I'd share the instructions with you here.


Firstly, I thought I'd give you a link to the company I buy my cellophane bags from. They're the perfect size to slip a standard card into and they double up for this purpose too. They're from GT Bag Company here. Thanks to Susie for finding these! We got the ones measuring 4 5/8" x 5 3/4" and they work beautifully.

Chocolate Chip cardstock was cut to 7 1/4" x 5". I cut 2 pieces, one for the front and one for the back. I then scored each piece at 5/8".
Take however many cellophane pages you require and place them onto the back page, so the flap end is in line with the left hand edge of the album. Place the other piece of cardstock on the top and punch two holes for your Jumbo Eyelets. I used a Crop-O-Dile which made the job easy! Once the Jumbo Eyelets are set, you can thread your ribbon through, mine is Mellow Moss 1/4" grosgrain.
Now it's just a question of decorating your album as you want. Mine was done with a mat of Very Vanilla underneath a piece of Mellow Moss which was stamped with Bella Blossoms in the same colour ink. I then made a monogram with Kate & Mathew's initials using the set Together Forever. The initials are from a set from Papertrey Ink. Some half pearls from the pretties kit finished it off nicely. Hope you like it!